📑 Table of Contents ▶
- Butterfinger Lush Recipe
- Fundamentals
- Preparation/setup
- Directions
- Reinventing the Butterfinger Lush Experience
- Technique
- Tips/tricks
- Fine-tuning the Final Product
- Perfecting results
- Troubleshooting/variations
- Serving Butterfinger Lush
- Serving/presentation
- Pairings/storage
- Have you tried this recipe?
Butterfinger Lush
It’s amazing how a simple gathering can turn into a fun-filled adventure just by serving the right dessert. The first time I made Butterfinger Lush, it felt like a celebration of flavors—creamy, crunchy, and oh-so-indulgent. Every bite transported me back to childhood candy days when Butterfinger bars ruled the snack scene.
The combination of smooth chocolate pudding, whipped cream, and the unmistakable crunch of Butterfinger creates a dessert that truly captivates the senses. This dish has quickly become a staple at family gatherings and potlucks, eliciting smiles and satisfied sighs with each spoonful. Butterfinger Lush embodies the joy of sharing something made with love, transforming ordinary occasions into extraordinary memories.
⚡ Smart Kitchen Tools Every Home Cook Swears By

- Pure aluminum
- Durable enough for everyday cooking
- Made in the USA with quality

- 7 cooking functions in one compact cooker
- 3-quart size ideal for couples or small meals
- Up to 70% faster than traditional cooking

- 3 sizes for every recipe
- Pre-seasoned & durable cast iron
- Oven & grill ready
The joy of cooking comes not just from creating but from the experiences it brings. Each time I serve Butterfinger Lush, the laughter and conversation fill the room, reminding me of why I love to cook. Let’s dive into how to whip up this delightful treat that’s perfect for any occasion.
Butterfinger Lush Recipe
Fundamentals
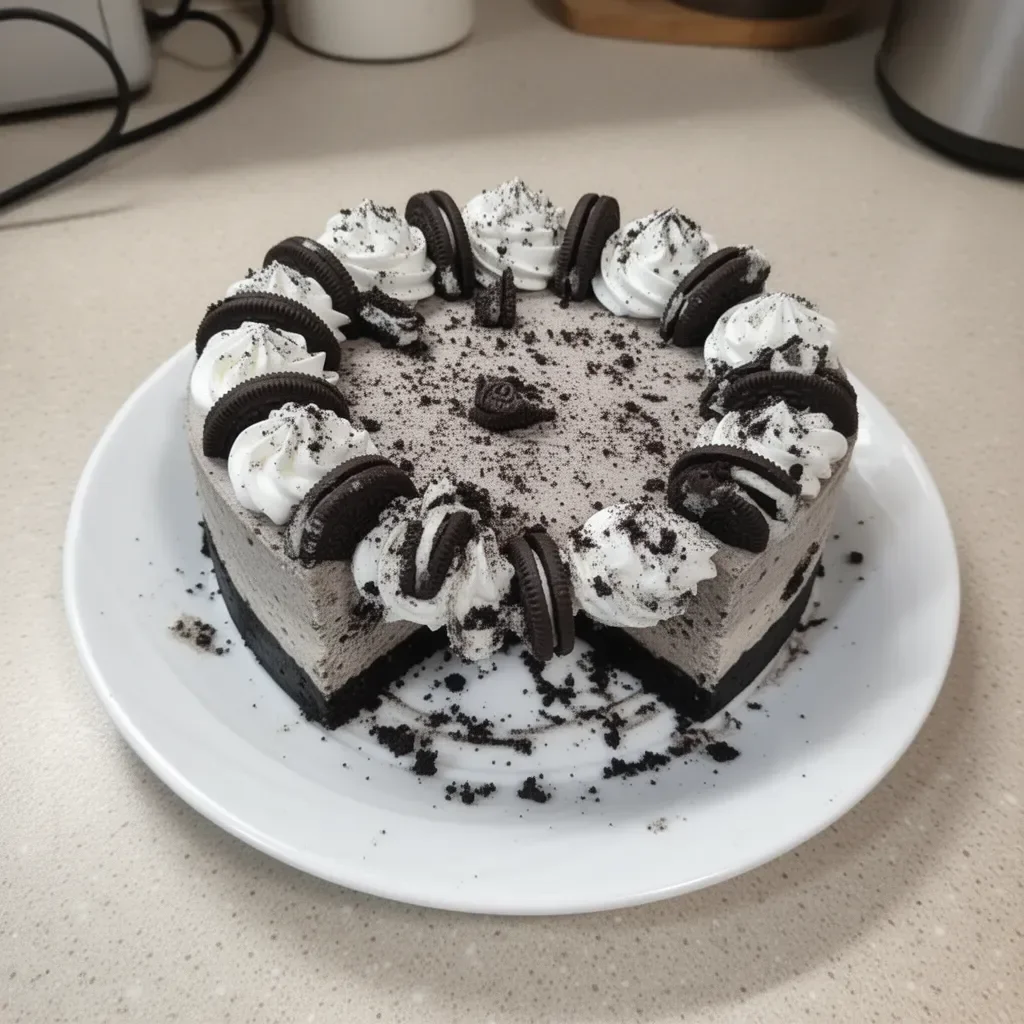
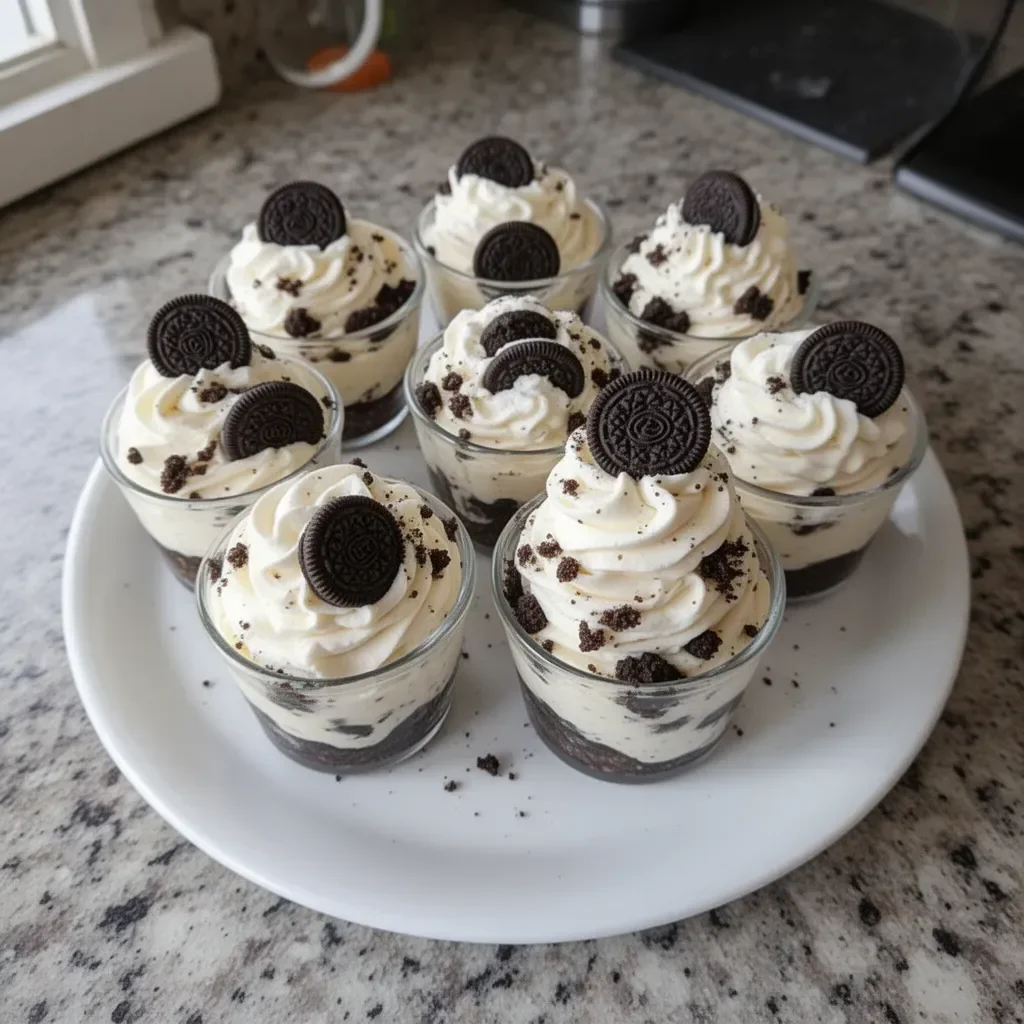
Butterfinger Lush stands as a testament to just how delightful dessert can be. It features a rich crust made of Oreo cookies and melted butter, topped with layers of cream cheese, chocolate pudding, and whipped cream, with a final flourish of chopped Butterfinger bars. This dessert not only pleases the palate but also offers that nostalgic touch that many American families cherish.
Creating this dessert involves layering flavors and textures, providing a diverse eating experience. The Oreo crust gives a subtle crunch, while the creamy layers create a soft, mouthwatering contrast. This combination makes Butterfinger Lush a dream come true for anyone with a sweet tooth.
Preparation/setup
Preparing Butterfinger Lush is straightforward, allowing home cooks of all skill levels to embark on this delicious journey. You’ll need a good 9×13 inch pan to accommodate all the delightful layers. The preparation process is simple, with a series of easy steps that build up the flavor profile beautifully.
Start by ensuring you have all your ingredients on hand. Patience is key while assembling each layer, as this helps create that perfect melding of flavors. The process can be as joyful as indulging in the finished product, inviting creativity and personalization into the kitchen.
Ingredients
This dish requires the following ingredients to create a delectable Butterfinger Lush:
- 1 package of Oreo cookies
- 1/2 cup of melted butter
- 8 oz of softened cream cheese
- 1 cup of powdered sugar
- 1 cup of whipped cream
- 2 cups of chocolate pudding
- 1 cup of chopped Butterfinger candy bars
Gather these items before beginning, and you’ll set yourself up for a smooth preparation.
Directions
-
Crust Creation: Start by crushing the Oreo cookies in a bowl until you achieve fine crumbs. Pour in the melted butter and mix thoroughly. Press this mixture firmly into the bottom of a 9×13 inch pan to form a solid crust.
-
Cream Cheese Layer: In a separate bowl, beat the softened cream cheese with the powdered sugar until the mixture becomes smooth and creamy. Gently fold in the whipped cream until combined and fluffy. Spread this decadent mixture over the Oreo crust, ensuring an even layer.
-
Chocolate Pudding Layer: Pour the chocolate pudding over the cream cheese mixture, spreading it out evenly. This layer adds richness, deepening the flavor of the dessert.
-
Final Touch: Top the chocolate pudding layer with the chopped Butterfinger candy bars, distributing them evenly across the surface. This adds the perfect crunch and sweetness.
🥗 Fresh, Fast & Foolproof — Upgrades You'll Use Tonight
 Brieftons 10-Blade Spiralizer
- Zoodles in seconds
- Heavy-duty, 10 sharp blades
- Keto, paleo & gluten-free friendly
🛒 Add to Cart on Amazon Instant Pot Duo Mini 7-in-1
- Meals in ~30 minutes
- 3-Qt — perfect for 1–3 people
- Pressure cook, sauté, steam & more
🛒 Add to Cart on Amazon ThermoMaven Smart Thermometer
- Phone alerts & live temp graph
- Hands-off monitoring for smokers
- Perfect doneness, every time
🛒 Add to Cart on Amazon -
Chill: Refrigerate the Butterfinger Lush for at least 2 hours before serving. This chilling time allows the flavors to meld beautifully and ensures that each slice comes out perfectly.


Reinventing the Butterfinger Lush Experience
Technique
When making Butterfinger Lush, consider the techniques that enhance the layers. Crushing the Oreos properly is vital; you want a fine crumb mix without large chunks. Using a food processor can speed up this process and achieve a more refined texture.
While mixing the cream cheese and powdered sugar, ensure you beat them until completely smooth. This prevents lumps when you fold in the whipped cream. The goal is a silky and airy layer that complements the crunchiness of the crust beneath it.
Tips/tricks
- Let the cream cheese soften at room temperature before mixing. This makes it easier to achieve that smooth consistency without lumps.
- Use instant chocolate pudding for a quick and easy layer; it sets perfectly in the refrigerator.
- If you want to get creative, you can add a drizzle of chocolate syrup on top right before serving for an extra touch of sweetness.
Fine-tuning the Final Product
Perfecting results
To ensure that Butterfinger Lush shines at your gathering, pay attention to presentation as much as the taste. After chilling, use a sharp knife to slice through the layers without disturbing them. Serve each piece on chilled plates to maintain its brilliance and to avoid melting.
Feel free to garnish each serving with additional whipped cream or extra chunks of Butterfinger to elevate the dessert visually and texturally. These little touches make a significant difference in impressing your guests.
Troubleshooting/variations
If you find that your Oreo crust is too crumbly, try adding a bit more melted butter to create a more cohesive base. Alternatively, if the layers are too thick, you can adjust the amounts slightly for a more balanced taste.
For those looking to personalize their Butterfinger Lush, consider experimenting with other candy bars or topping choices. A mix of candy and nuts provides a delightful crunch, adding a different dimension to the dessert.
Serving Butterfinger Lush
Serving/presentation
When it comes time to serve, presentation is key. Use a sharp spatula to lift pieces from the pan, ensuring that the layers stay intact. Arrange the slices on a serving platter, and consider adding fresh mint leaves for a pop of color.
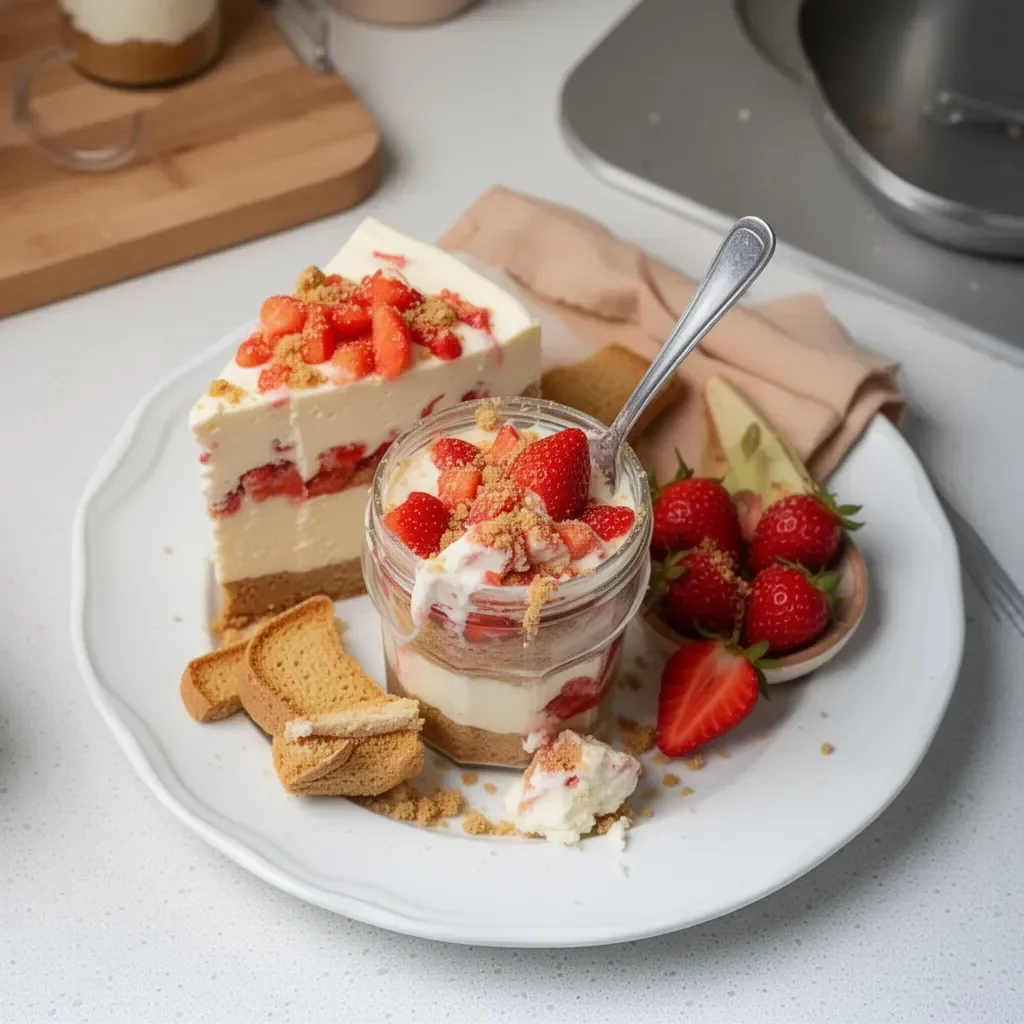
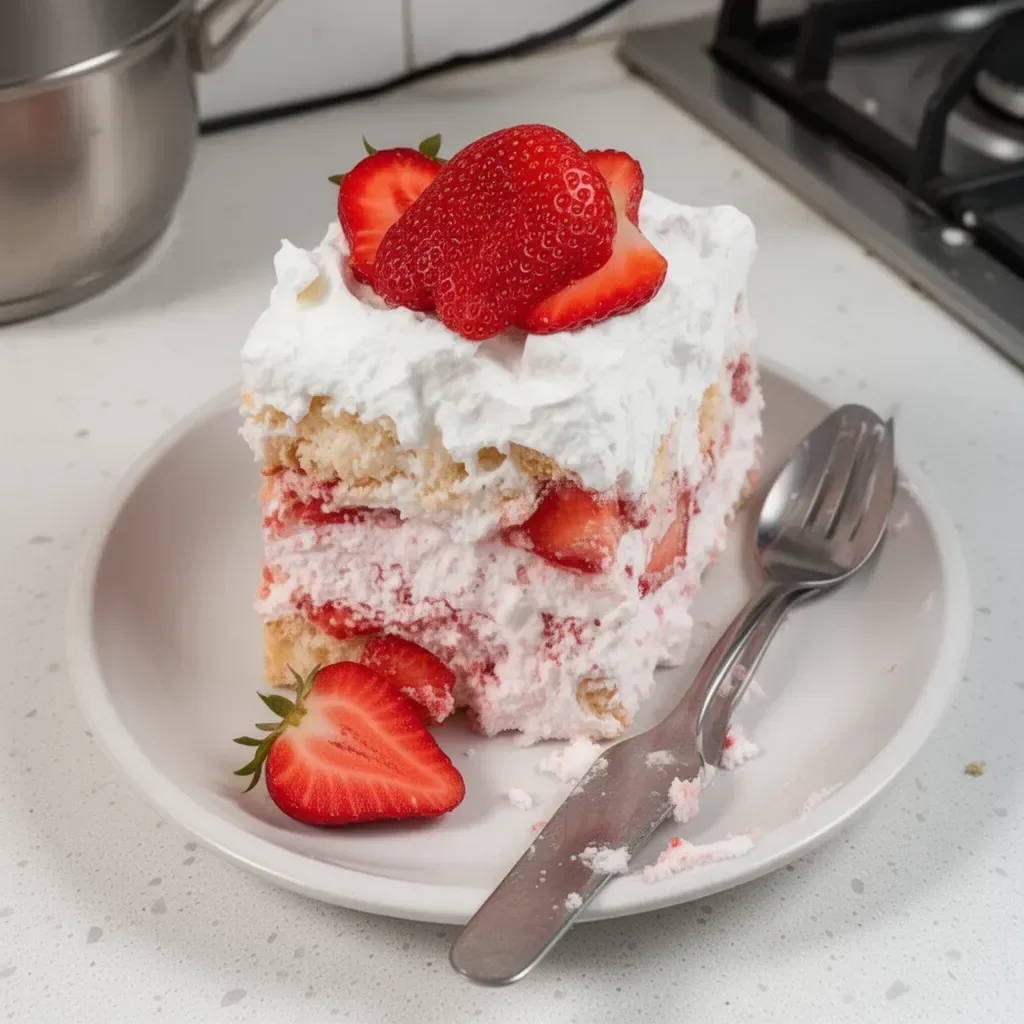
The dessert can be quite indulgent, so serving small portions often works well. A side of fresh fruit like strawberries or raspberries complements the richness perfectly, helping to balance out the sweet flavors.
Pairings/storage
Pair Butterfinger Lush with a cup of coffee or milk for a classic combination that never fails. For storage, cover the leftovers with plastic wrap and keep them refrigerated. It’s best enjoyed within a few days for optimum freshness and texture.
This dessert brings joy, deliciousness, and a touch of nostalgia to any table!
Butterfinger Lush serves as a delightful way to celebrate gatherings with friends or family. The simplicity in preparation allows for great enjoyment, from the eager anticipation of assembly to the delightful flavors enticing everyone to come back for more.
Print
Butterfinger Lush
- Total Time: 135 minutes
- Yield: 8 servings 1x
- Diet: Vegetarian
Description
A creamy and crunchy dessert featuring layers of Oreo crust, cream cheese, chocolate pudding, and Butterfinger candy.
Ingredients
- 1 package of Oreo cookies
- 1/2 cup of melted butter
- 8 oz of softened cream cheese
- 1 cup of powdered sugar
- 1 cup of whipped cream
- 2 cups of chocolate pudding
- 1 cup of chopped Butterfinger candy bars
Instructions
- Crush the Oreo cookies in a bowl until you achieve fine crumbs.
- Pour in the melted butter and mix thoroughly.
- Press this mixture firmly into the bottom of a 9×13 inch pan to form a solid crust.
- Beat the softened cream cheese with the powdered sugar until smooth and creamy.
- Fold in the whipped cream until combined and fluffy.
- Spread this mixture over the Oreo crust.
- Pour the chocolate pudding over the cream cheese mixture.
- Top with the chopped Butterfinger candy bars.
- Refrigerate for at least 120 minutes before serving.
Notes
For a touch of creativity, drizzle chocolate syrup on top before serving.
- Prep Time: 15 minutes
- Cook Time: 0 minutes
- Category: Dessert
- Method: No-Bake
- Cuisine: American
Nutrition
- Serving Size: 1 serving
- Calories: 400
- Sugar: 32g
- Sodium: 350mg
- Fat: 22g
- Saturated Fat: 10g
- Unsaturated Fat: 8g
- Trans Fat: 0g
- Carbohydrates: 45g
- Fiber: 2g
- Protein: 5g
- Cholesterol: 25mg
Keywords: Butterfinger, dessert, no-bake, chocolate, party treat

🍳 Precision Meets Passion — Tools Chefs Trust Daily

- Grams & ounces — precise to 1g
- Perfect for baking & keto tracking
- Sleek stainless steel design

- German stainless precision
- Razor-sharp & dishwasher-safe
- Elegant wood block organizer

- Premium Stainless Steel Build
- Easy to Clean & Dishwasher Safe
- A Must-Have Kitchen Tool