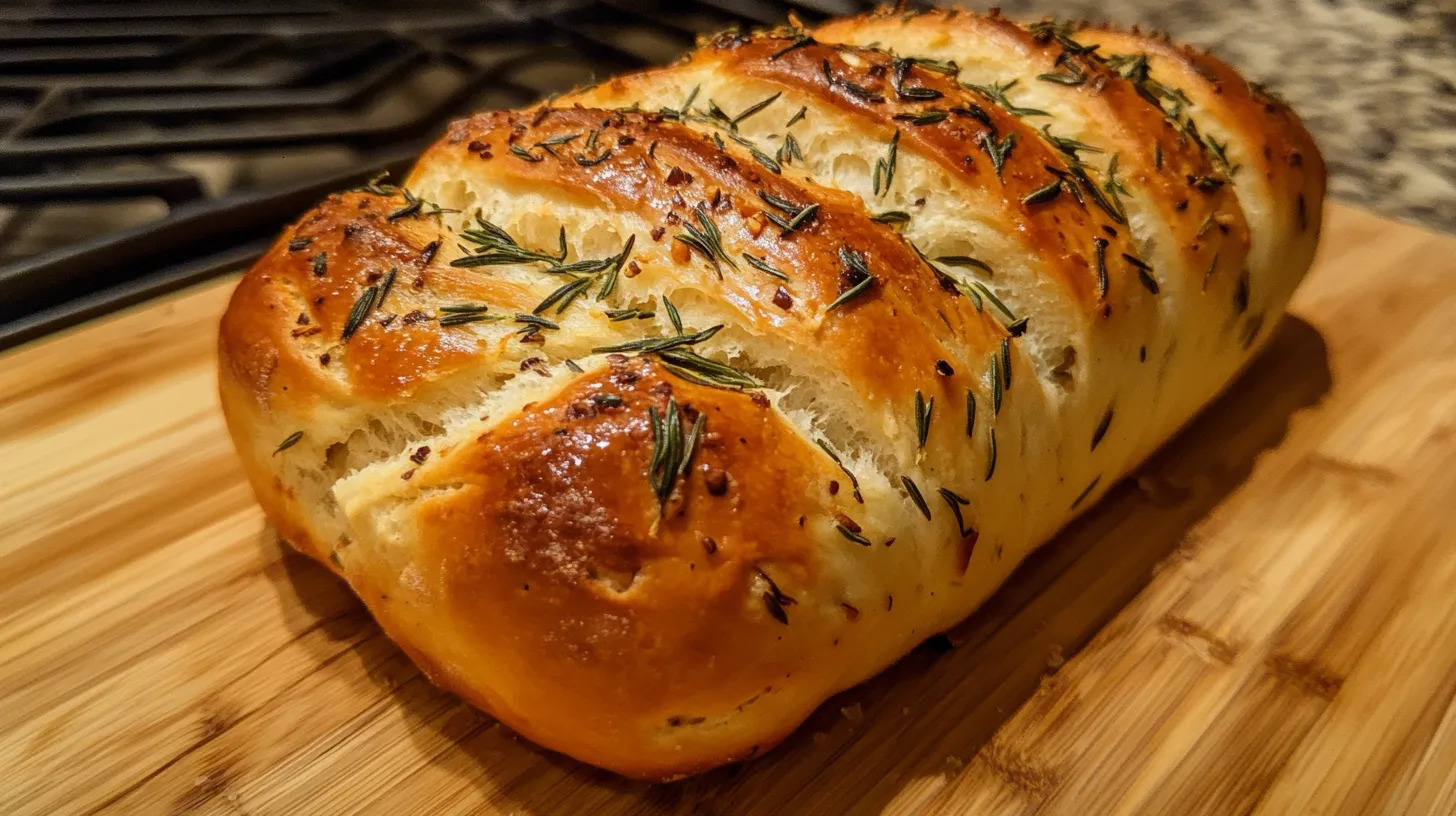
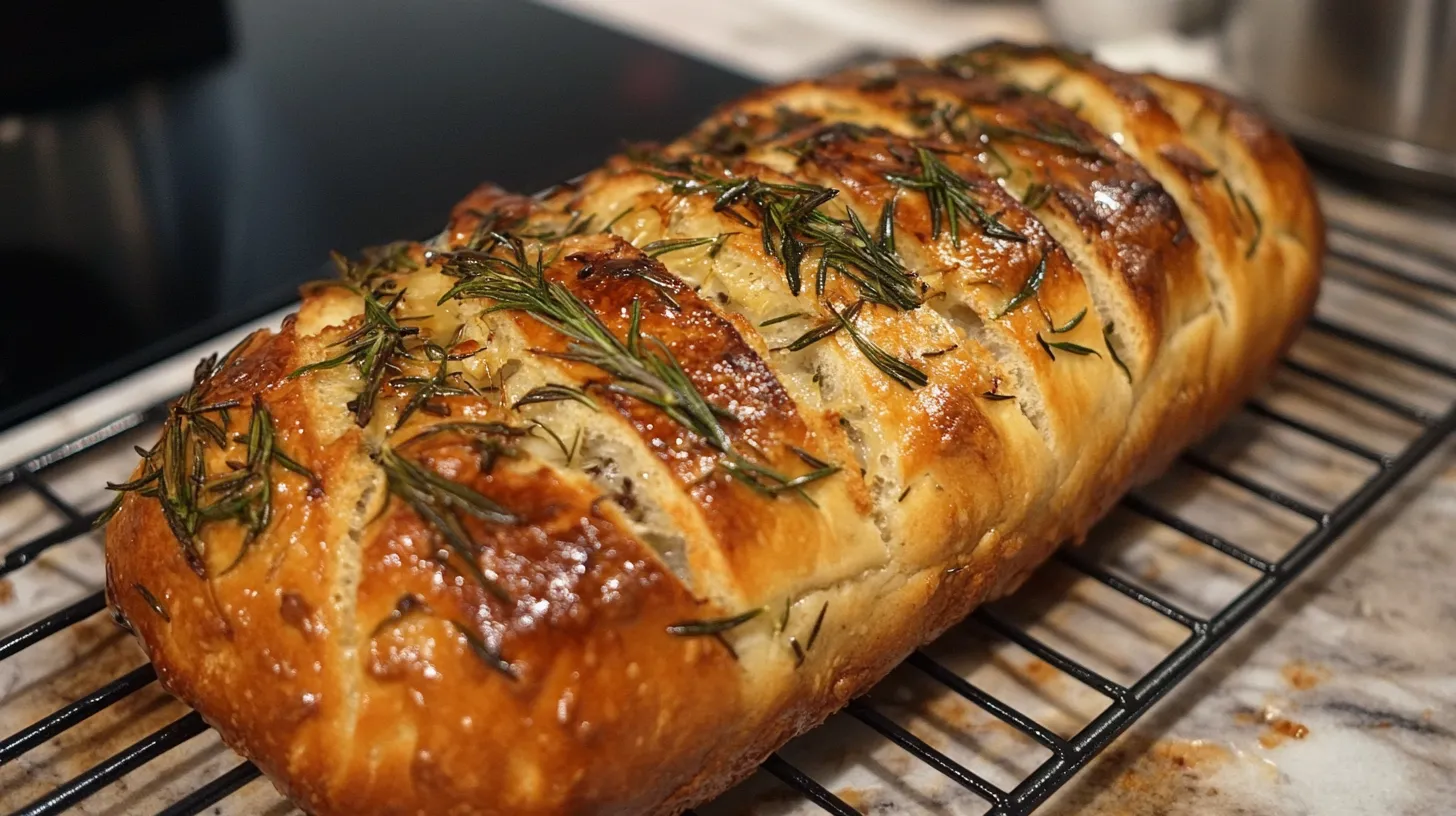
There’s nothing quite like the taste of homemade bread, especially when it’s infused with the aromatic flavors of fresh rosemary and roasted garlic. This artisan loaf recipe is perfect for bread lovers seeking something extra special—a warm, crusty bread that’s perfect for sharing with family and friends. Whether you’re a seasoned baker or just starting out, this Rosemary and Roasted Garlic Artisan Loaf will be a rewarding addition to your baking repertoire. The inviting aroma of roasted garlic and herbs will fill your kitchen, making it hard to resist cutting into this beautiful loaf before it even cools.
In this article, we’ll cover everything you need to know about making this bread from scratch. From ingredients and directions to prep time, cooking time, nutritional benefits, and frequently asked questions, you’ll get an in-depth look at how to craft this delicious bread in your own kitchen. Let’s dive in!
Ingredients
For the Dough
- 3 cups all-purpose flour 🌾
- 1 packet active dry yeast (about 2 1/4 teaspoons) 🍞
- 1 cup warm water (between 100–110°F) 💧
- 1 tablespoon fresh rosemary, chopped 🌿
- 1 head garlic, roasted and mashed 🧄
- 1 tablespoon olive oil 🦬
- 1 teaspoon salt 🧂
- 1 teaspoon sugar 🍬
Nutritional Information
- Prep Time: 10 minutes
- Cooking Time: 35 minutes
- Total Time: 2 hours 45 minutes (including rising time)
- Yield: 1 loaf (approximately 10 slices)
- Calories per Serving: 145 kcal

Directions
1. Preparing the Dough
To begin, gather all your ingredients and make sure they’re at room temperature. Start by dissolving the yeast and sugar in warm water. It’s important that the water is warm—not too hot and not too cold—to properly activate the yeast. Let the mixture sit for about 5 minutes. You’ll notice it starts to get foamy, which means the yeast is alive and active.
In a large mixing bowl, combine the flour, salt, chopped rosemary, roasted and mashed garlic, and the activated yeast mixture. Drizzle in the olive oil and mix everything together until a shaggy dough forms. You can use a wooden spoon or even your hands to combine the dough.
2. Kneading the Dough
Next, turn the dough out onto a lightly floured surface. Kneading is an essential part of bread making as it develops the gluten, which gives the bread structure. Using the heel of your hands, push the dough forward, fold it back, and rotate. Repeat this process for about 5-7 minutes until the dough becomes smooth and elastic. If it’s too sticky, you can sprinkle a little flour, but be careful not to add too much as it may make the dough too dense.
3. First Rise
Once the dough is smooth and elastic, place it in a greased bowl. Cover it with a clean kitchen towel or plastic wrap and let it rise in a warm spot for 1-2 hours, or until it has doubled in size. This initial rise allows the yeast to ferment, creating gas and helping the dough become airy and fluffy.
4. Shaping the Loaf
Once the dough has risen, punch it down gently to release the trapped gas. Turn it out onto a floured surface again, and shape it into a round or oval loaf. If you prefer, you can also use a loaf pan to get a more traditional sandwich loaf shape. Once shaped, place the loaf on a parchment-lined baking sheet or in the greased loaf pan.
5. Second Rise
Allow the shaped loaf to rise for another 30-45 minutes. This second rise, also known as proofing, gives the dough one last opportunity to expand before baking, making for a lighter loaf.
6. Baking the Loaf
While the loaf is undergoing its second rise, preheat your oven to 375°F (190°C). If you have a baking stone, you can place it in the oven to heat up as well. When the dough is ready, place the loaf in the preheated oven and bake for 30-35 minutes. You’ll know it’s done when the crust is golden brown, and the loaf sounds hollow when tapped on the bottom.
For extra flavor, you can brush the top of the loaf with a bit more olive oil and sprinkle it with additional chopped rosemary before baking.
7. Cooling and Serving
Once the bread is done baking, remove it from the oven and let it cool on a wire rack for at least 20-30 minutes before slicing. This cooling period allows the interior of the bread to finish cooking and set properly, making for a better texture. Serve the loaf warm or at room temperature with a generous spread of butter, or use it as an accompaniment to soups, stews, or salads.
Tips for the Best Rosemary and Roasted Garlic Artisan Loaf
- Water Temperature: Make sure the water used to dissolve the yeast is between 100°F and 110°F. Hotter water can kill the yeast, while colder water won’t activate it properly.
- Roasting Garlic: To roast garlic, simply cut the top off a head of garlic, drizzle it with olive oil, wrap it in foil, and bake at 400°F for about 30-40 minutes until soft and caramelized. Let it cool before squeezing the roasted garlic cloves out.
- Adding Flour: When kneading, be cautious not to add too much flour. Adding too much can result in a denser, heavier loaf.
- Steam for Crust: For a crustier loaf, place an oven-safe pan with water on the bottom rack of your oven while baking the bread. The steam will help form a beautiful, crackling crust.
Benefits of Homemade Bread
Making your own bread at home has numerous benefits, beyond just the amazing taste.
- Healthier Ingredients: You have complete control over what goes into your bread, avoiding preservatives and additives often found in store-bought varieties.
- Customizable: You can add extra ingredients like herbs, cheese, or nuts to make the bread your own.
- Economical: Baking bread at home is cost-effective compared to buying specialty artisan loaves.
- Therapeutic: Many people find the process of kneading and baking bread to be relaxing and a great way to reduce stress.
Frequently Asked Questions (FAQs)
1. Can I Use Dried Rosemary Instead of Fresh?
Yes, you can use dried rosemary if fresh isn’t available. Keep in mind that dried herbs are more concentrated in flavor, so you’ll need about half the amount (1/2 tablespoon) instead of fresh rosemary.
2. Can I Make This Bread Without Yeast?
This particular recipe relies on yeast for the classic bread texture and airy crumb. However, you could experiment with baking powder or baking soda, but the result will be more like a quick bread rather than an artisan loaf.
3. How Do I Store the Bread?
To store the bread, wrap it tightly in plastic wrap or place it in an airtight container at room temperature for up to 3 days. For longer storage, you can freeze the loaf. Just wrap it in aluminum foil and place it in a freezer-safe bag for up to 3 months.
4. What Should I Serve with This Artisan Loaf?
This bread pairs wonderfully with soups, stews, and pasta dishes. It’s also great as a base for bruschetta or simply toasted with a spread of butter or olive oil.
5. Can I Add Other Herbs?
Absolutely! You can add other herbs such as thyme, oregano, or basil to complement the rosemary and garlic flavors. Feel free to get creative with the herb combinations.

Conclusion
Baking a Rosemary and Roasted Garlic Artisan Loaf is a rewarding experience that brings together the comforting warmth of fresh bread with the vibrant flavors of garlic and herbs. This recipe, with its crispy crust and tender interior, is ideal for any occasion—whether you’re making sandwiches, dipping into soups, or simply enjoying a slice with butter. The process may seem lengthy, but with practice, each step will become second nature, and the aroma of baking bread will soon become a regular and welcome presence in your kitchen.
The beauty of this loaf lies in its simplicity and versatility. With a few basic ingredients, you can create a delicious and memorable artisan bread that rivals any bakery’s offering. Plus, the therapeutic value of baking and the joy of sharing your homemade creation with loved ones make the entire process worthwhile. We hope this article has provided you with all the information you need to make a perfect loaf, and that you enjoy baking it as much as we do!


